
Maga Cosmetics Gel Polish, Hybrid-Politur, Farbe GY0011, 6 ml
6,10 €
2,6 (16.136) bei Lyko
66,50 €
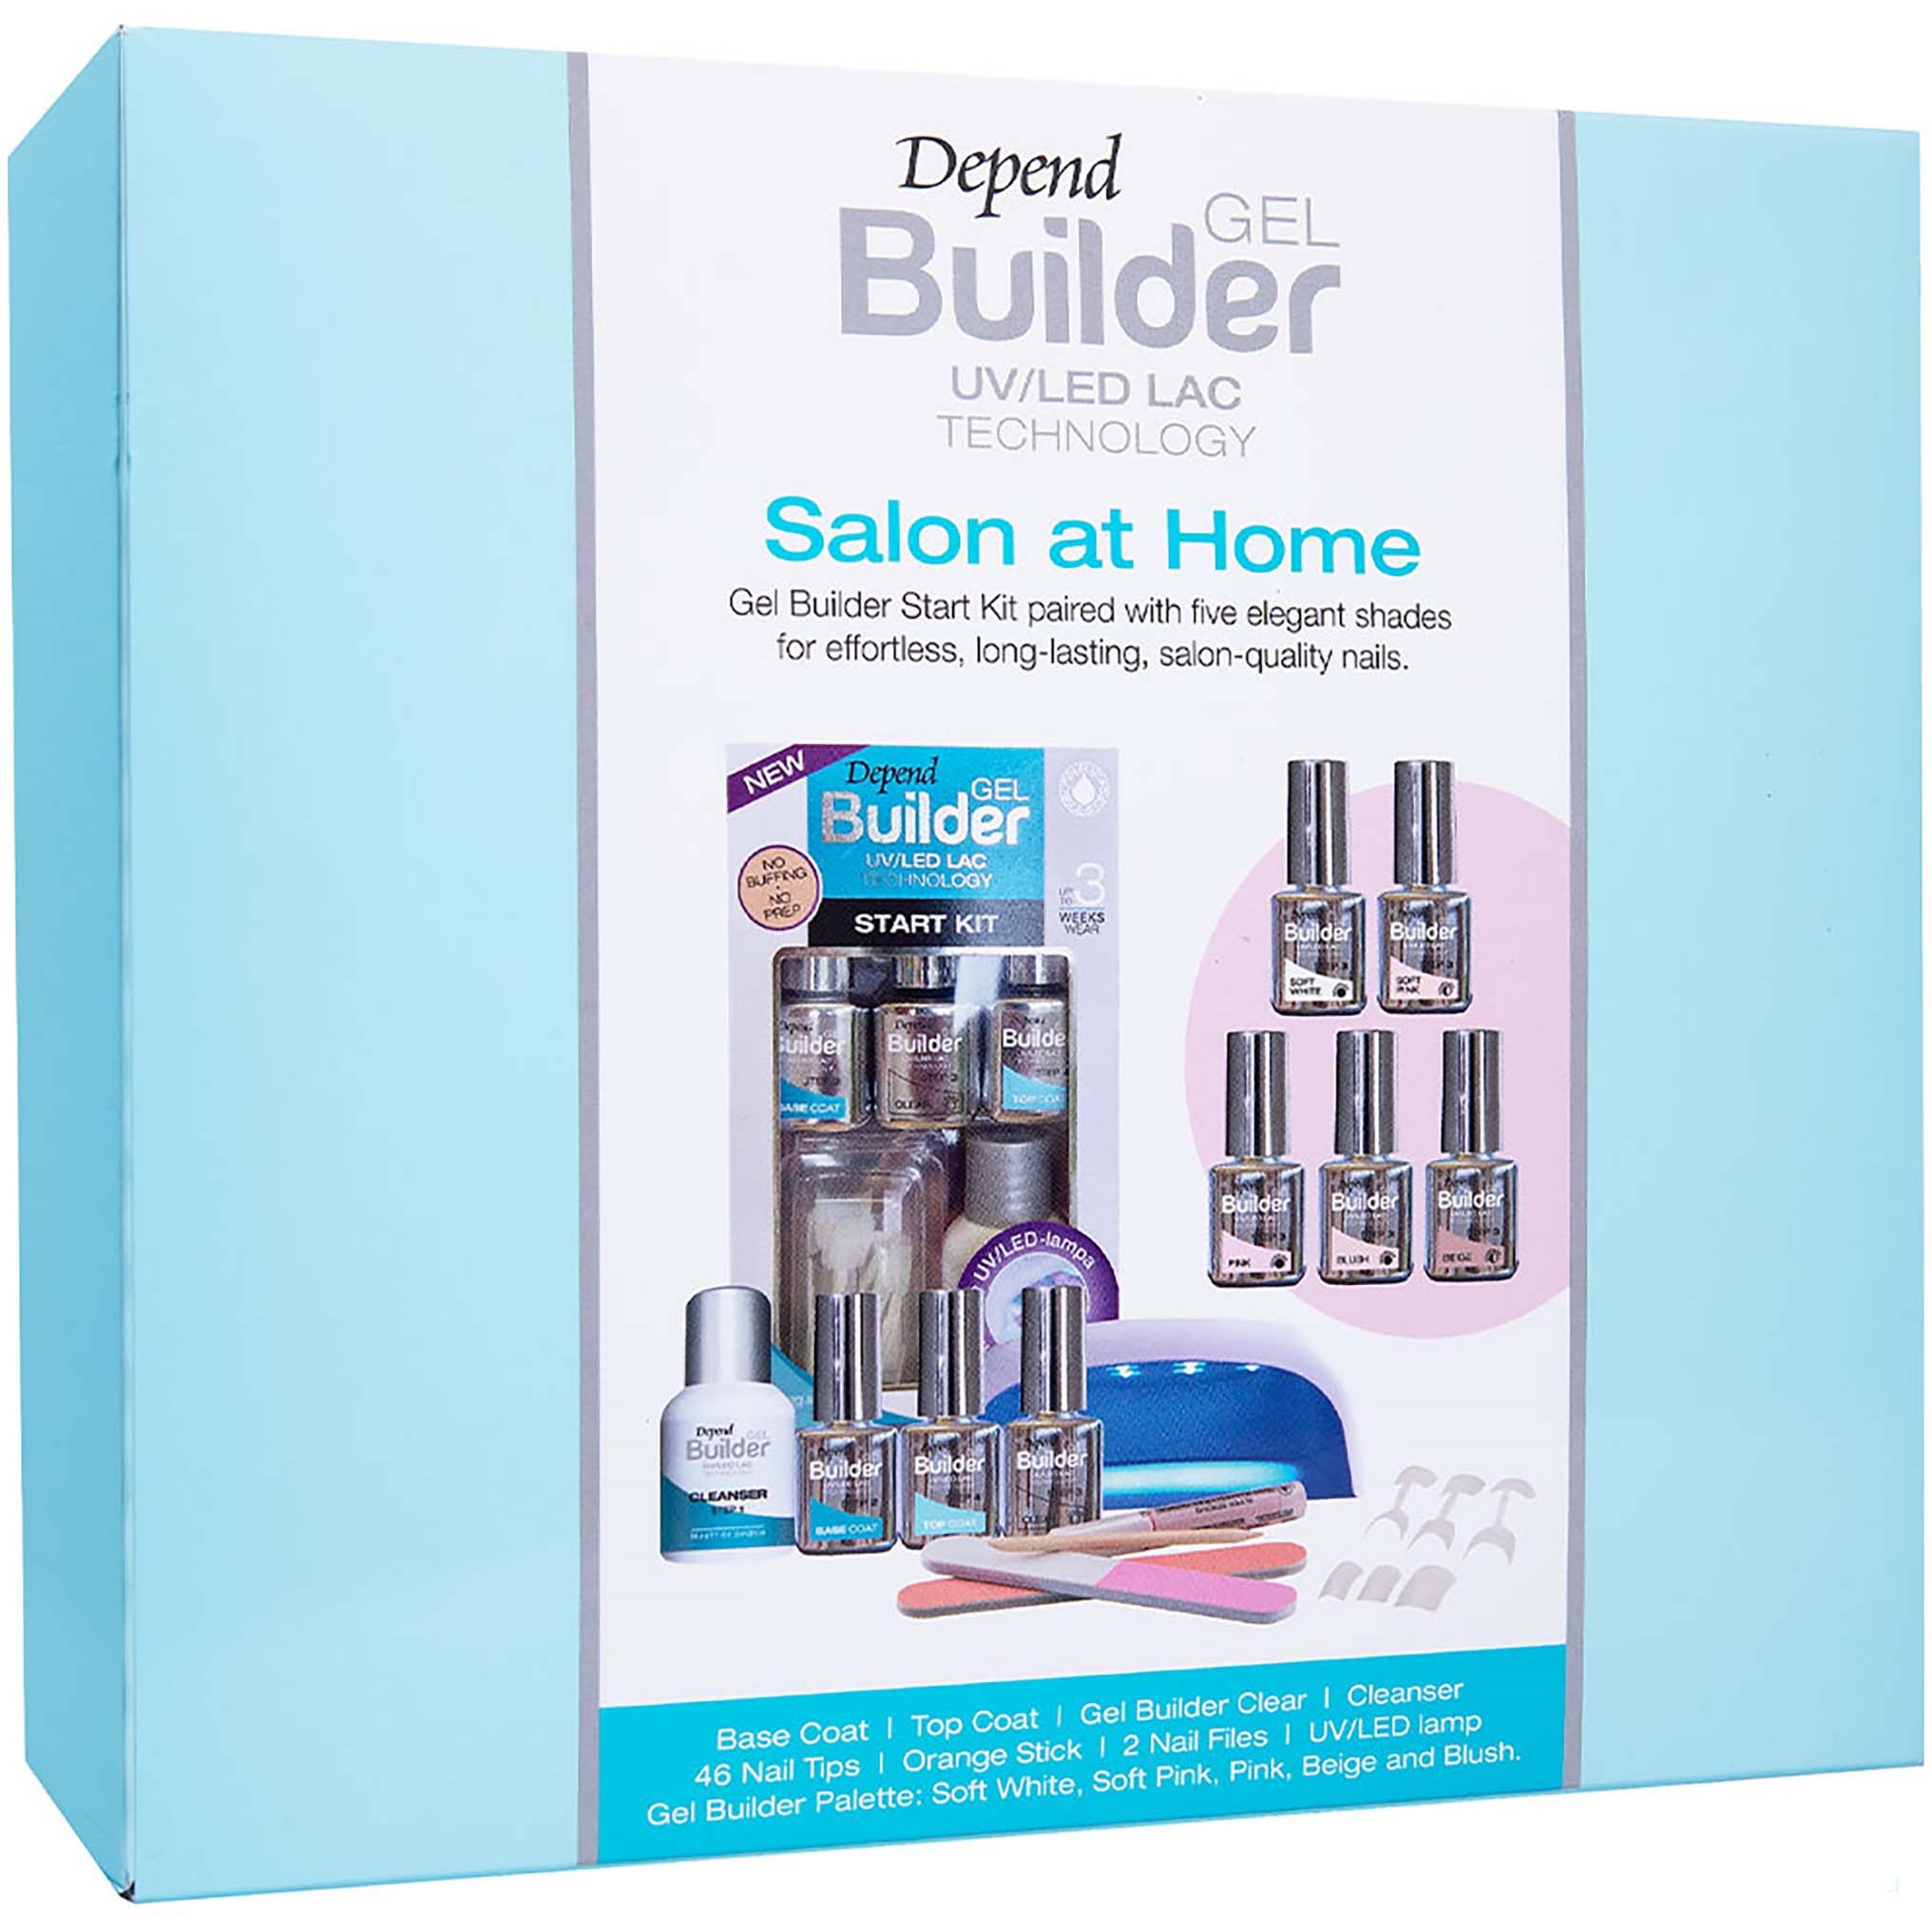
A real dream of a kit for anyone wanting to create salon-quality nails at home. The complete Gel Builder experience packaged in one luxury box, with everything from starter kit and lamp to base and top coat, plus a whole palette of Gel Builder shades, including ever-popular Blush. Perfect for anyone wanting to explore the possibilities of Gel Builder and create long-lasting nails with a salon feel at home. Value SEK 994.Contents: 5 x 5 ml Gel Builder Colour, 5 ml Base Coat, 5 ml Top Coat, 5 ml Gel Builder Clear, 25 ml Cleanser, 2 nail files, orange stick, 22 x Natural Look Short Cut Tip, 24 x Salon Size Flexi Fit, 2 g pink nail glue, UV/LED lamp. How to Use: Application techniques – general:To avoid getting the polish on your skin, we recommend that you always:-Ensure you have plenty of light and a good posture for applying the products.-Leave a decent safety margin around the cuticles, taking particular care when applying transparent products, as these are more difficult to see.-Stroke the brush against the inside of the neck of the bottle when applying the Base Coat and Top Coat, to avoid getting too much on the brush and applying too thick a coat. Too much polish increases the risk of it spreading on to the cuticles and inferior adhesion.Remember that the gel will not dry until you cure it under the UV/LED lamp, so you can take your time in applying it.Important: ensure that all your fingers are properly exposed to the light from the UV/LED lamp. Remember not to touch the nail with your fingers during application.Application technique – extensions:•Important: if the product comes into contact with the skin around your nail, this must be removed prior to curing using Cleanser applied to a cotton bud. Applies to steps 8, 9 and 10.•A sticky surface will form on the nail after steps 8, 9 and 10 as part of the process. Do not touch this. Remove this surface as per the instructions in step 11.•Complete steps 1–7 on all nails first.•Steps 8, 10 and 11. Begin with the four fingers of one hand, from the little finger to the index finger. Complete these fingers first before moving on to the other hand and repeating the process. Finish off by carrying out these steps on both thumbs.•Step 9. Do one nail at a time. Extra tip: Use one of our Nail Art brushes in step 6 to help you apply and move Gel Builder like a professional. Application technique – overlays:•Important: if the product comes into contact with the skin around your nail, this must be removed prior to curing using Cleanser applied to a cotton bud. Applies to steps 4, 5 and 6. •A sticky surface will form on the nail after steps 4, 5 and 6 as part of the process. Do not touch this. Remove this surface as per the instructions in step 7.•Complete steps 1–3 on all nails first.•Steps 4, 6 and 7. Begin with the four fingers of one hand, from the little finger to the index finger. Complete these fingers first before moving on to the other hand and repeating the process. Finish off by carrying out these steps on both thumbs.•Step 5. Do one nail at a time. Extra tip: Use one of our Nail Art brushes in step 6 to help you apply and move Gel Builder like a professional. Instructions for extensions using Gel Builder 1.Use a fine/medium file to uniformly shape your natural nail to ensure the tip fits better.2.Apply Depend Exfoliating Cuticle Remover to the nail and cuticle. Leave to work for 1 minute. Wash off using soap, water and a nailbrush. Use the orange stick to push back the cuticle as needed and scrape away any dead skin from the surface of the nail. 3.Measure and select which size of tip fits your nail. It should fit from side to side. It is better to choose one that is too large and file it down at the sides so that it fits perfectly. 4.Carefully file the top side of the tip to reduce any joins and ensure a smoother transition between the tip and your own nail. Wipe off the surface of the nail.5.Clean your nails using Cleanser.6.Apply a thin layer of glue to the bonding surface of the tip. Apply a thin layer of glue to your natural nail where the tip is to be attached. Hold the tip angled downwards, with the contact area facing the nail, and press it down evenly onto the nail, keeping it pressed for a few seconds. This reduces the risk of air bubbles. 7.Once the glue has dried, you can trim and file the tip to the desired shape. Wipe off. Clean again as needed.8.Apply Base Coat to your natural nail and the tip. Cure for 2 x 30 seconds.9.NB: Do this step one nail at a time! Brush a thin coat of Gel Builder in your chosen shade over the nail and tip, leaving a margin round the cuticle. Leave this uncured. Pick up a fresh amount of gel on your brush and apply it along the centre of your nail as a line to build up. Alternatively, you can also use a sweeping U motion to apply the gel to your nail. Then turn your finger over at a 45-degree angle to create the perfect Apex.
Preis beim Shop, letzte 16 Tage
Der Preis liegt seit dem 6. Oktober unverändert bei 66,50 €.


